Basics of How to Calculate a Recessed Lighting Layout
Before you begin to install the pot lights into your home, the first order of business is to determine how many lights you need. Whether you are looking to add recessed lighting to your living room, kitchen, bedroom, or basement, there’s a simple formula that quickly determines the number of lights.
Determine the Purpose of Your Recessed Lights

When spacing your pot light installation, it is important to know why and where you are adding the light fixtures. Unlike traditional lighting installed in the centre of the ceiling, recessed lighting layouts are designed to illuminate the entire room evenly and minimise shadows. Therefore, to ensure your lighting does the job you want it to do, you need to decide what room you will be installing the recessed fixtures in. If there is a specific area you want to add pot light to, you need to mind this in your layout placement plan.
Determine the Square Footage of The Room

Some math will go into this step. If you don’t already know the square footage of the room, quickly measure the length and width. Once you have those numbers, multiply them, and the sum equals the square footage of the room.
Create a Blueprint

Before you even begin to installation, you need to have a plan for pot light spacing. Start by drawing blueprints on paper to measure your lighting placement and spacing. Your blueprints should recognize your room’s dimensions, appliances, furnishings, walls, entryways, and other features that could affect how and where you place the pot lights.
Find out How Much Wattage of Recessed Lights Is Needed

There are a few factors to examine when determining the total wattage required for a room. For an average-sized room, all you’ll need to do is take the square footage from step 1 and multiply it by 1.5. If the room is more spacious, has high ceilings, and requires more light, then times the square footage by 3.
Decide What Type of Pot Lights You Want

Recessed lighting comes in different types, styles, functions, and sizes. To create the perfect balance of beauty and illumination in your lighting plan, determine what type of pot lights you want for your room. Bigger recessed light fixtures are better suited to higher ceilings because they give off more light. Smaller lighting units, however, work better on lower ceilings.
Discover the Number of Pot Lights Required for Your Room

Once you’ve determined the square footage and required wattage with the formulas above, the next step is to discover the number of pot lights you’ll need for your room. To do this take the total wattage and divide it by the wattage you plan to use in your pot lights. For instance, if you want 75-watt bulbs then divide the total wattage by 75, and that will equal the total amount of recessed lights you’ll need.
Create a Recessed Lighting Layout Floor Plan
Now that you know the number of pot lights you’ll need, the next step is to create a recessed lighting diagram to help execute the perfect layout. It is essential to evenly space the lights in the room, and organize them into equal rows. Once the design is clean and organized, it’s then time to find out the spacing between the pot lights. There are a few steps to calculate recessed lights spacing.
Step 1: Determine the Starting Point for Recessed Lights

For this step, you’ll have to decide whether or not you want to emphasize a specific part of the room with light, or if you prefer general lighting. If you prefer generalized lighting, start the placement of pot lighting in the centre and work from there. To highlight a portion of the room, begin to position the pot lights in that area while continuing to place other lights an equal distance from that spot.
Step 2: Measure the Room’s Length
If you haven’t already, measure the length of the room where you’ll install your pot lights in feet.

Step 3: Figure out The Distance Between Each Pot Light

There’s a simple formula to help determine the pot lights spacing.
Just take the room length and divide it by the number of recessed lights you decide to put in the row. For example, if a row has four pot lights, divide the length of the room by 4, and that will give you the distance in feet between each light.
Step 4: Calculate Recessed Lights Spacing Between Walls

Placement pot lights near the walls is a tricky installation that many overlook. If you calculate the pot lights spacing incorrectly, you’ll start to see dark edges and cast shadows. To avoid these effects cut the distance between each light in half. So, if your pot lights are 8′ apart, then lights should be 4′ from the wall.
Step 5: Measure the Width of The Room

To determine the horizontal spacing between recessed lights, repeat the above steps using the room’s length measured in feet.
Time for the Recessed Lights Installation

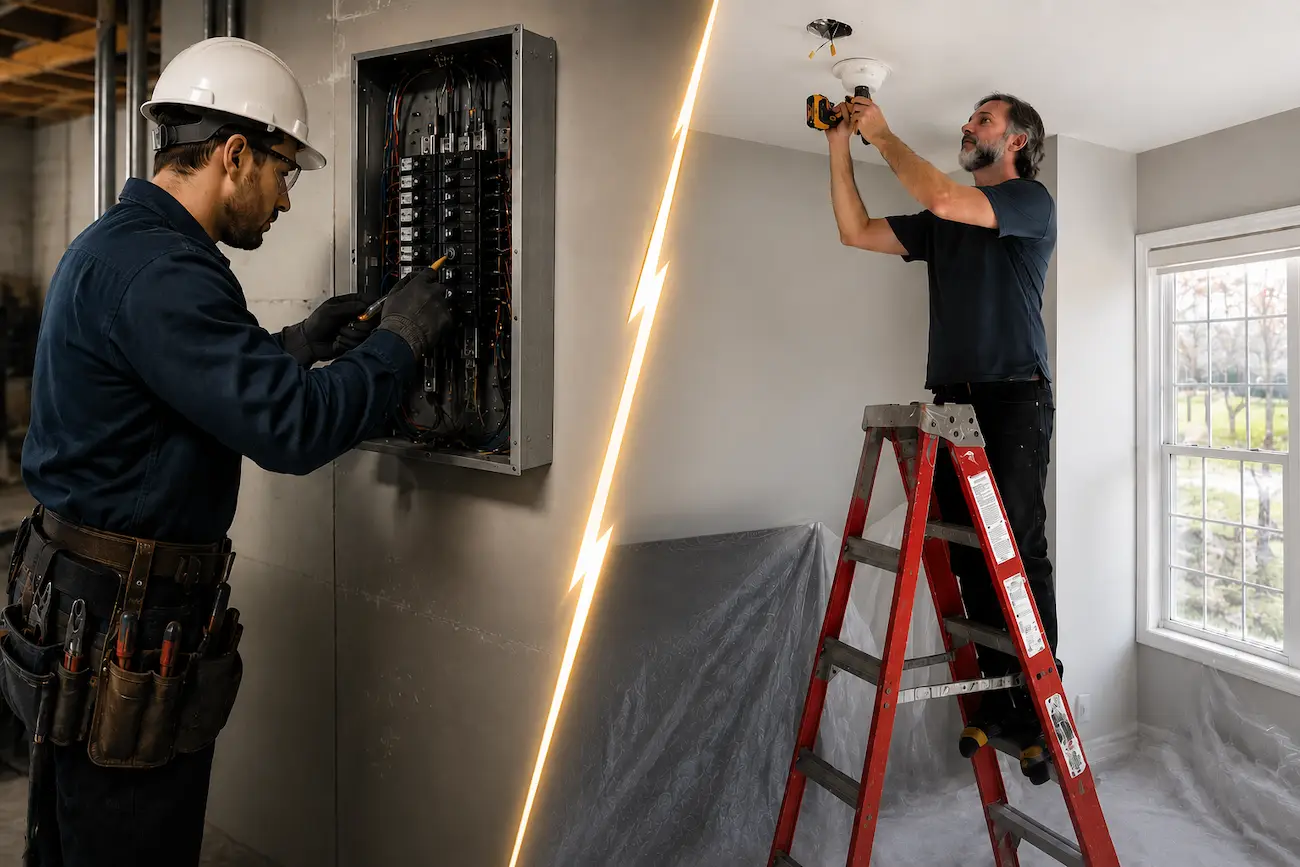
Good news! All the planning is complete, which means it’s finally time to install the pot lights. To make sure all the lights can go into the desired place, all you need to do is use a stud finder to confirm the ceiling joist locations. To avoid any ceiling joist interference, you may have to adjust the position of some lights. Once everything is approved, make sure to contact a licensed electrician to install recessed lighting.
Ready for pot light installation? Now that you have all the essential tips and tricks on the perfect placement, you can finally begin the installation process. If you’re having difficulty determining the spacing of your recessed lights, enlist the help of a professional pot light installation expert.
Frequently Asked Questions about Recessed Lighting
How far should recessed lights be from cabinets?
Cabinets require extra light to highlight the space. To achieve this, measure the distance between the ceiling and the cabinet top. Divide that measurement by 4, and that is how far you should place your recessed lights from cabinets.
Where should I place recessed lights in my living room?
The recessed lighting layout in a living room should be placed into even rows and spaced appropriately. To accomplish this, follow the lighting floor plan steps above. Keep in mind that installing recessed lights changes from room to room. Installing recessed lights in the bedroom is different from the basement. Many factors go into how many pot lights you need and their layout.
How to calculate how many recessed lights do I need?
Generally speaking, the best way to calculate the number of recessed lights this is to divide the room’s total wattage by the wattage you plan to use for your lighting. For a more detailed explanation, please refer to the basics section above.
How far apart should I place my pot lights?
Pot lights spacing is crucial. To determine the right distance between each light, divide the room’s length in feet by the desired number of pot lights in that row.
RELATED ARTICLE: Things to Know Before You Buy Recessed Lights