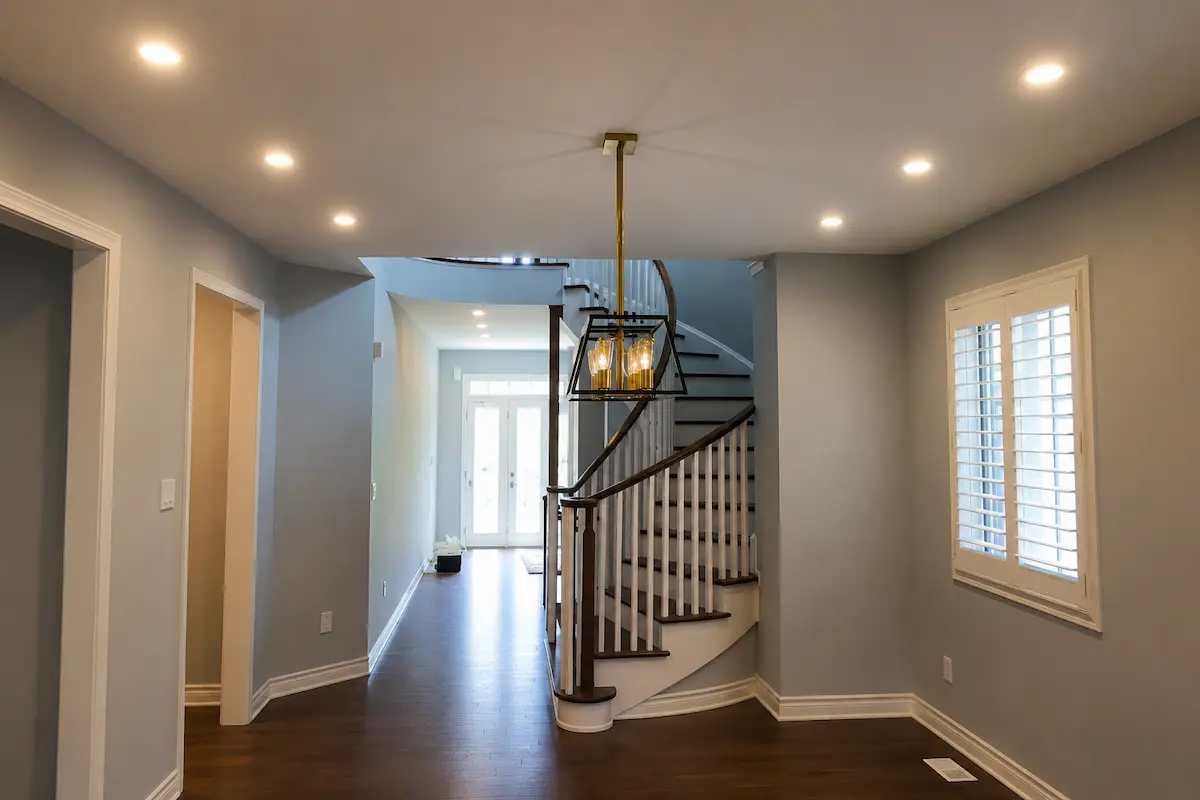
Recessed lights are simplistic yet beautiful light fixtures that give any room in your home a stylish, contemporary look. Installing recessed lighting is becoming more and more popular because it not only improves a room’s lighting but increases the home’s value, too. For the handy homeowner, installing recessed lighting without attic access is an easy do-it-yourself project. However, you should practice caution when rewiring any fixture or appliance.
Faulty wiring is hazardous and might not be covered by your home insurance coverage if it is not completed by a professional electrician.
If you are planning to retrofit your recessed lights without attic space, these easy-to-follow steps will help you install your lights.
Step 1: Get Everything Ready

Before beginning any project, you should collect all your tools and supplies that you will need to install the pot lights first. This not only saves you time but prevents delays in your recessed light installation. To install your pot lights, you will need:
- Wire cutters/strippers
- Keyhole or drywall saw
- Carpenters pencil
- Cordless drill
- Measuring tape
- Stud finder
- Screwdriver
- Circuit tester
- Ladder
Step 2: Turn the Power Off

Before you do any electrical work in your home, it is important to turn the power source off first to prevent injury. To do this, turn off the breaker switch that controls the wiring in the area you are going to be working on. Use a circuit tester to make sure you have turned off the correct breaker.
Step 3: Map Your Recessed Lighting Locations

Before making any permanent changes to your ceiling, decide where you plan to put your pot lights. Map out your locations carefully by drawing a blueprint of your ceiling. When measuring light placements, avoid marking areas where joists, support beams, or other interior structures would interfere with the recessed light installation. Use the light’s housing to trace each location onto your ceiling.
Step 4: Cut Out the Openings

Once the outlines are traced, cut out each opening in your ceiling. To avoid over cutting, start by drilling a hole in the center of your circle and cut your way to the traced line with a keyhole saw.
Step 5: Wiring Your Recessed Lights

To wire the recessed lighting in your existing ceiling, remove the junction box and switch plate on the wall where you will attach your wires. Run the light’s wire from the cutout housing location to the junction box. Make sure you leave a minimum 10-15 centimeters of extra wire on each side.
At the junction box end, strip 1.5 cm of wire to expose the copper inside. Attach the exposed copper piece to the electric socket before reassembling your junction box. Install the pot light to the wiring and ceiling as shown by the light kit’s instructions. Follow these steps to install each light between floors. Once all your lights are installed, add the light bulbs, and turn your electricity back on. Turn your lights on to make sure they all work and enjoy your new lighting.
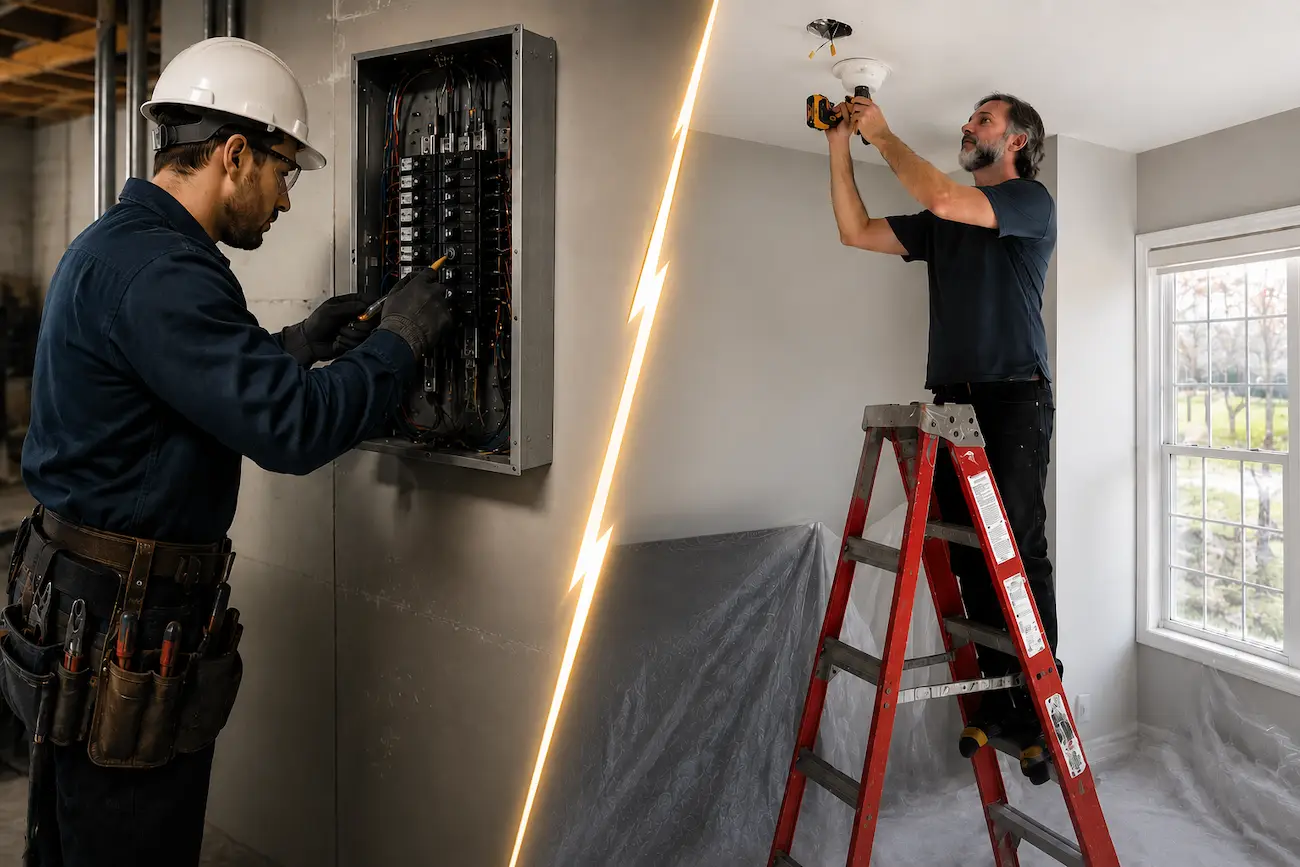
When in Doubt, Contact a Professional

Installing recessed lights is a cost-effective way to improve the lighting and look of your home. Pot light installation without attic access is an easy task if you know have some experience and follow the steps above. If you do not have experience working with wiring, you should hire a licensed electrician to help you out. This is important because most home insurance policies do not cover damage from faulty wiring if it is not done by a certified professional.
RELATED ARTICLE: Things to Know Before You Buy Recessed Lights